How to Send Fluid and Make Good Cytology Slides
It is rare that a practitioner will be able to rely on a lab being so close that slides will be made within a few hours of the sample being taken. The quality of the slides that are made or the culture that is submitted will have a direct impact on the resultant diagnostic reliability. It is always sad when a sample that has taken time, effort, expense, and a certain amount of invasiveness to obtain is left to languish in a truck and the receiving laboratory is left with a fluid that contains variable numbers of fragmented cells and bacterial overgrowth. Bacterial overgrowth is a problem for two reasons – first, it would be unfortunate to have a sample read out as septic when the problem is one of contamination, and second, bacterial overgrowth tends to lead to death and destruction of the cells of interest. Diagnoses can be compromised for other reasons when slide preparation is delayed; for instance, if there are red cells in the BAL fluid due to iatrogenic trauma, over the course of several hours, macrophages may engulf the red cells, leading to an erroneous diagnosis of chronic pulmonary hemorrhage. Neutrophils, if left for several hours, will take on a degenerate appearance, with swollen nuclei. For just such reasons, it is often preferable for the practitioner to make her own slides.
How to Make Good Cytology Slides
First, it is important to remember that most respiratory secretions have a low concentration of cells. Along with this low cell count, most respiratory secretions also have low protein concentrations; this renders the cells quite fragile, especially lymphocytes which will be quickly destroyed. Adding serum helps the cells to survive, but will not prevent bacterial overgrowth. Because most samples have a relatively low cell count, most samples must be centrifuged in some way. In the case that there is a highly cellular sample, for instance in a tracheal aspirate from a horse with pneumonia or a sample from a highly cellular pleural effusion, it may be possible to do a ‘pick-and-smear’ technique, in which a toothpick is used to pick out bits of material that can then be smeared onto the glass. For low-cell samples, cytocentrifuge preparations tend to be very uniform and easy to read, but most practitioners do not have access to a cytocentrifuge. In this case, the practitioner can centrifuge the sample, discard the supernatant, and make a smear of the sediment.
Although one study showed that samples should survive in a purple top at room temperature for 8-24 hours, we find that we get the best results by processing the samples immediately or placing them on ice. If the sample is to be processed immediately, it is better not to use preservatives, but to keep it in several 10-ml red top tubes. If it is going to be several hours or longer before the sample is processed, and ice is not available, it can be preserved with alcohol, but the cytology will be inferior. EDTA is not a particularly good preservative. Its primary purpose is to prevent clotting. If you use formalin, remember that you will no longer be able to use Romanowsky stains (e.g. Dif Quik, Wright’s, and Giemsa).
When you are making a sediment prep, use 10-ml red top tubes and spin at approximately 500 g for 5-10 minutes. If you spin at much higher speeds than that, you risk rupturing the cells. When the fluid has finished spinning, remove the tubes from the centrifuge; you will note a whitish spot on the bottom and slightly to the side of the tube where the centrifugal force has thrown the cells. Dump out the supernatant with impunity – the cells will stick nicely to the glass of the tube, and you will not lose them. Give the tube a second brisk shake to get rid of any excessive fluid. You may then resuspend the cell pellet in the fluid that will inevitably be left in the tube by lightly flicking the tube until the fluid looks cloudy.
It is important to label your slides clearly. Slides with frosted ends are the easiest to use. A #2 pencil works well for writing important information, such as horse name, owner name, date, and source (BAL, TA, etc). Most ‘sharpie’ type pens will wash off in alcohol – if you use one, it must be one that can withstand bathing in various stains. Multiple different techniques can be used to make the slide, but the goal for all should be the same – to have cells on the slide, and to make sure that those cells are only one layer thick. A pull-prep, made as for a blood smear, works well in some peoples’ hands. Remember to ‘pull’ the drop, don’t ‘push’. Never squash the sample – cells are fragile and they will rupture. You may also dip a cotton swab in the resuspended fluid, and then gently roll that swab across the slide. When done correctly, this will keep you from breaking apart the cells, and will result in a thin, readable smear.
You are not done yet – it is critical to dry slides rapidly. You can keep a little fan for this purpose, or you can use a hairdryer set on the cool setting. Be careful not to use hot air on the slides, as this will damage the cells. If you do not dry cells rapidly, they will shrink and once they are stained, they will all look alike – we call this Bue Dot Disease.
At this point, you may choose to send out your samples, or you may choose to assess them yourself. If money is an issue, then there is quite a bit of information that you can glean from assessing the cytology yourself. Ideally, you will look at the cytology yourself to have a quick assessment and then send the slides to a laboratory. Send several stained slides and several unstained slides. If you are new at this, you may also wish to send fluid preserved in alcohol or on ice in red and purple tops – make sure that the fixative is clearly identified! Regardless of which route you choose, before you discard your precious fluid and spend money sending out samples, it is a good idea to stain a few slides yourself to assess whether you have a good sample. Make enough slides so that you can stain them lighter or darker as you need. If a slide is too light, let the next one stay in longer. If it is too dark, a dip or two in alcohol will usually destain the slide to the desired amount. As long as you do not use oil or mounting medium on your slides, you can always destain and stain with a different stain. Regardless of the number of slides you stain, you should change out your stain regularly (of course cleaning the Coplin jars as you do), as the water and methanol will evaporate leaving you with uncertain concentrations of stain, and the solution will become dirty. The debris found in dirty stain may easily be mistaken for bacteria, as may granules from degranulated mast cells or eosinophils, as well as mucus globules.
The most commonly used stain is a modified Romanowsky, such as Dif-quik. This stain is, as the name implies, quick and effective, but, unfortunately, will not stain mast cells. [LeClere 2006} It will be necessary, in this case, to keep an extra slide for staining with Toluidine Blue. This is an easy stain to perform. Fix the slide in the first of the Dif-quik stains (methanol-based fixative), and then immerse in Toluidine Blue for at least 15 minutes. The metachromatic granules of the mast cells will stain a brilliant magenta color, whereas the other cells will be a dull, washed out blue.
If you suspect bacterial or fungal disease, almost all micro-organisms stain dark blue with Dif-Quik. For those of us who suffered the vagaries of Bunsen burners in microbiology in attempts to make Gram stains, there are now kits on the market that render Gram staining surprisingly easy without application of flame. An initial microscopic examination of the fluid will often help you to initiate treatment. For instance, you will be able to see if you have Gram positive or Gram negative bacteria, clusters suggesting staphylococcus v. chains suggesting streptococcus, or small rods v. large rods that might suggest anaerobes. In the rather rare case of pneumocystis , staining with Toluidine Blue may reveal the 4-8 intracytoplasmic bodies (trophozoites), and PAS (which is, again, rather easy to perform if you buy the kit) may help you in detecting fungal organisms. This is, of course, no substitute for culture and analysis by a clinical pathologist.
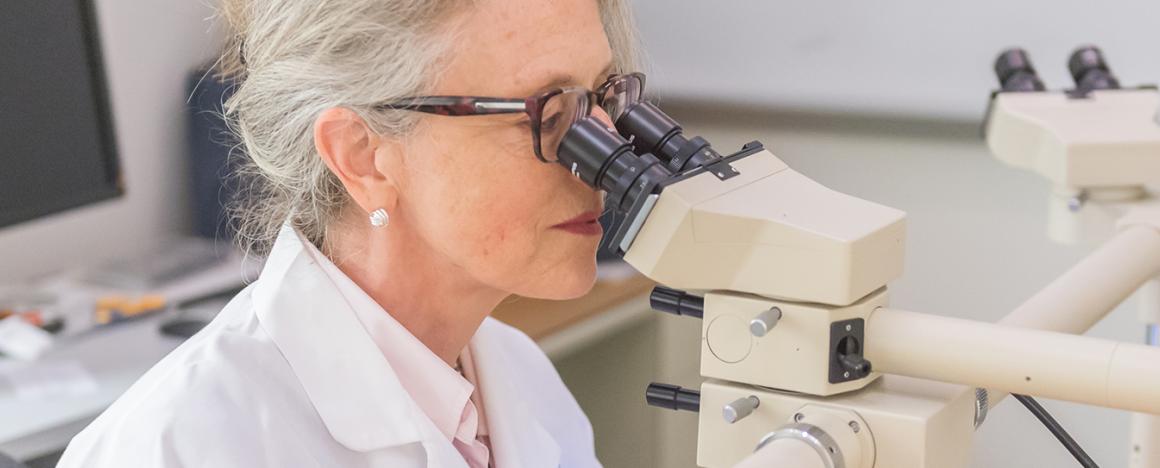
How to Assess the Cytology Once it is Made
First, make sure that your microscope is well-maintained and clean. Then, assess the cytology on low magnification (4X or 10X) to see if it generally looks uniform or if there are areas with large clumps of mucus or rafts of cells. If you have a polarizing lens, this is a good time to take a quick look to see if there are refractile particles present. If you have cover-slipped your slides, you may then go to 40X, but it will be necessary to do your final cell count with oil-immersion at 63 – 100X to ensure that you have an adequate assessment of cell morphology. In order to recognize the abnormal, you must first know what is normal.